Ir directamente a la información del producto
1 de 7

Safety Hoist Company

SteepSlope Scaffold

SteepSlope Scaffold

(21 Ratings)
Precio habitual $996.00 USD
Precio habitual Precio de oferta $996.00 USD
Oferta Agotado
Canadian Customers: Please Call (610) 941-4333

Our revolutionary 2-in-1 system is making steep slope jobs easier than ever!

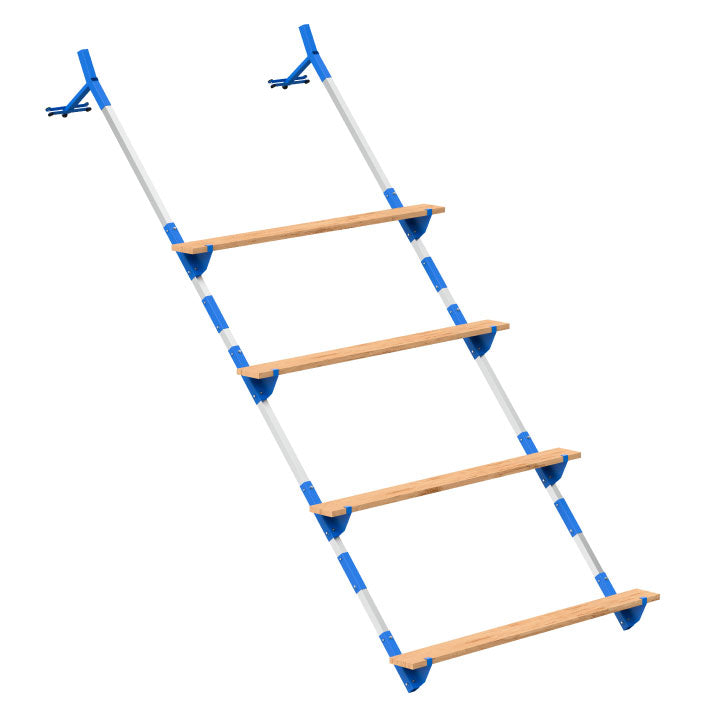
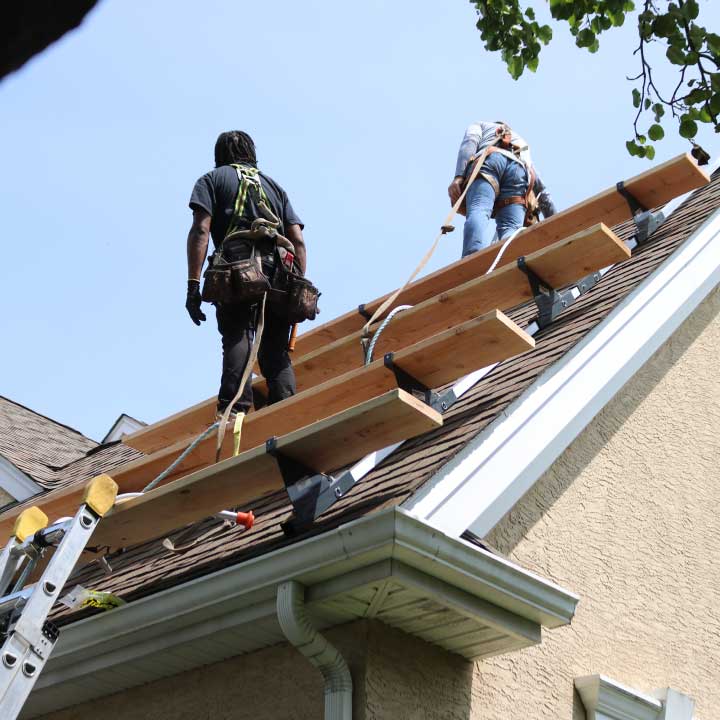
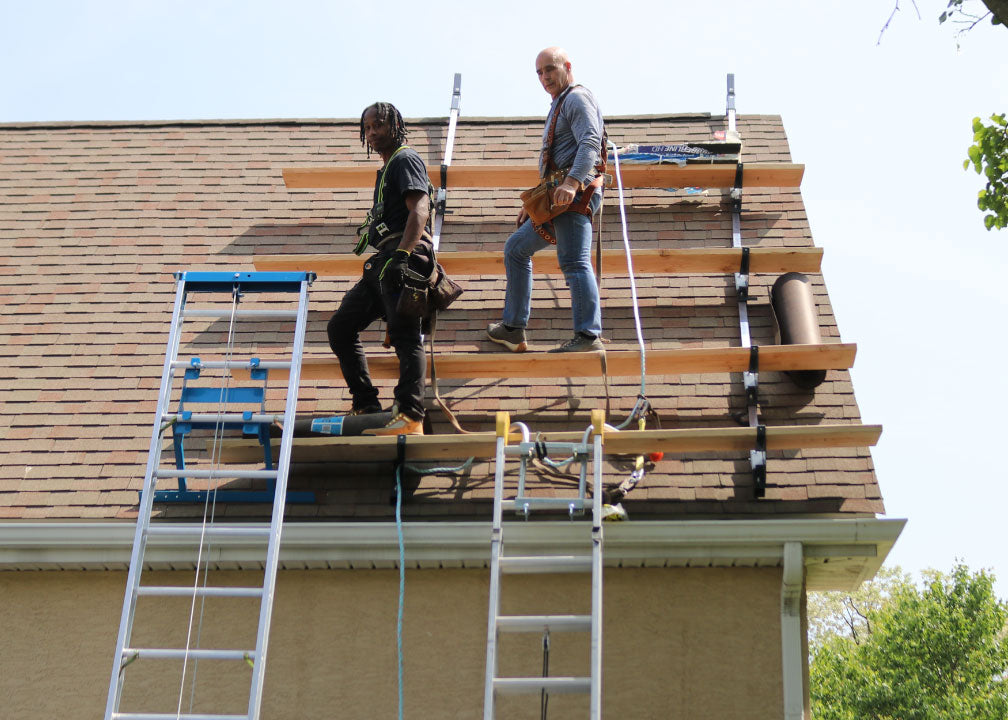
Use both sets of included rail and brackets to create a sturdy platform to work off of & store tools/materials.

OR

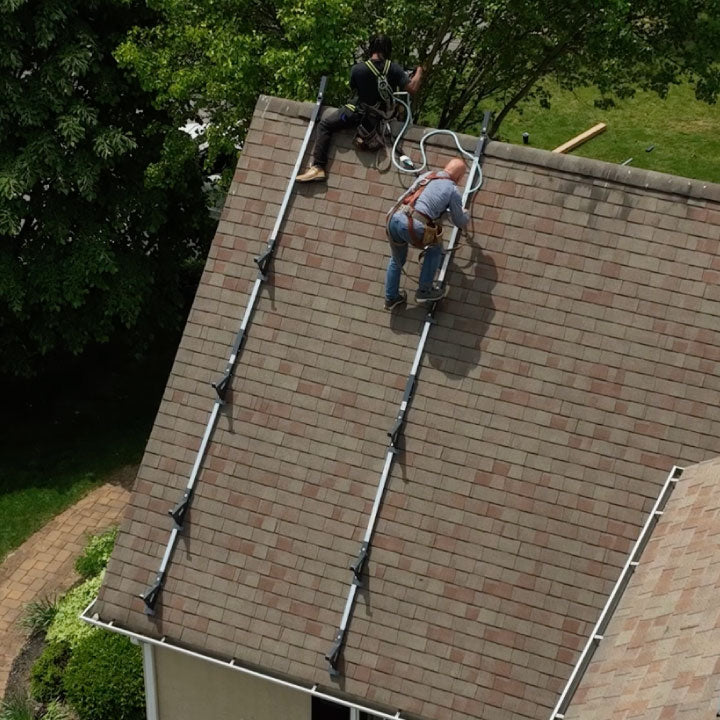
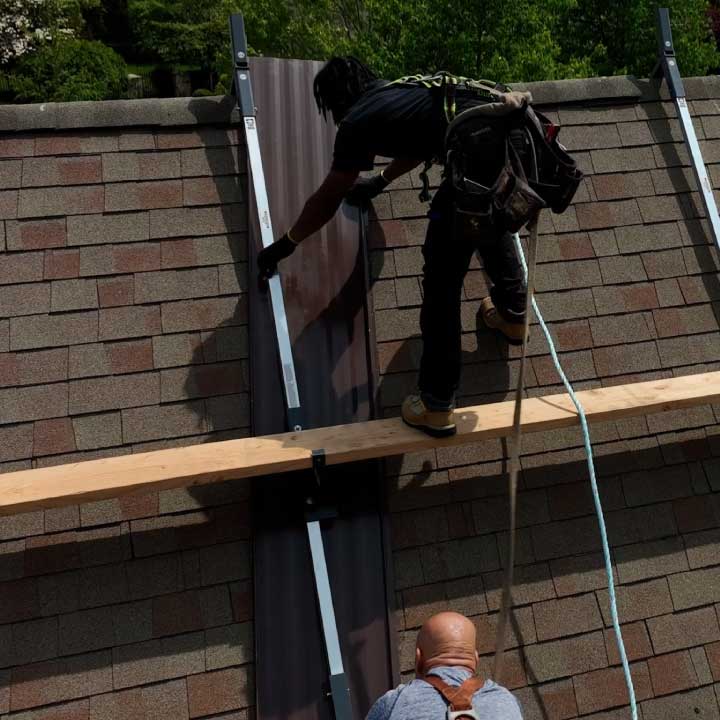
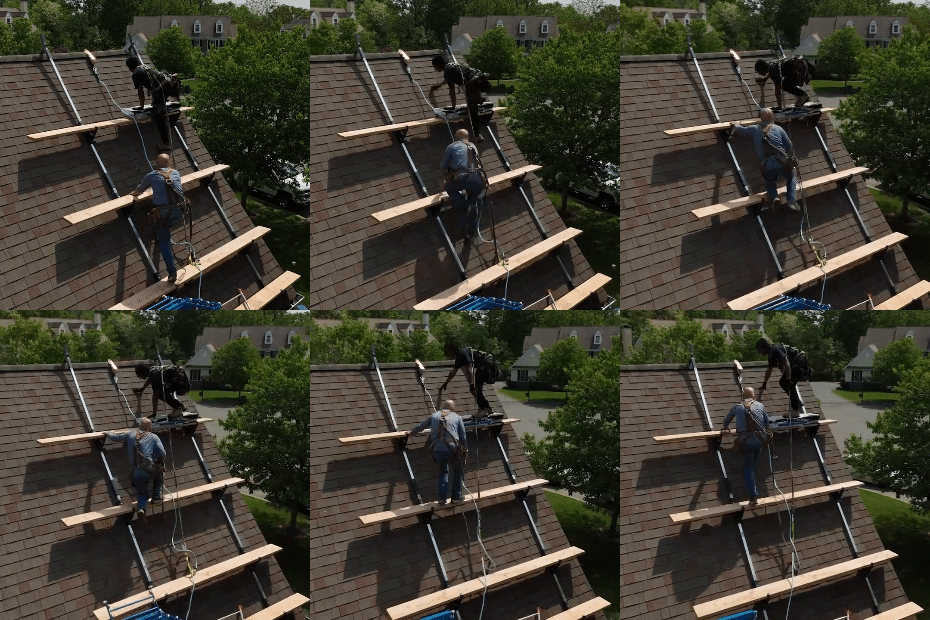
Use one rail at a time to climb up to the ridge (perfect for the first man up or last man down).

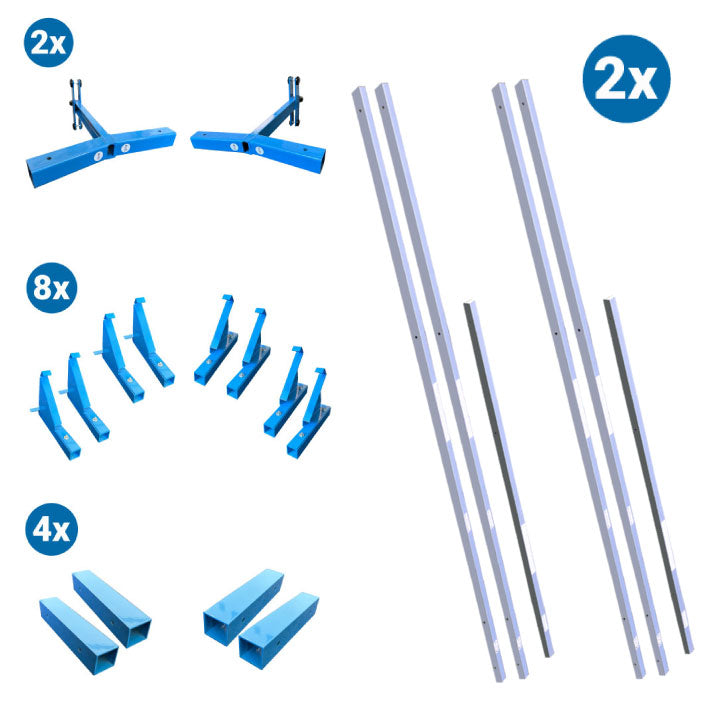
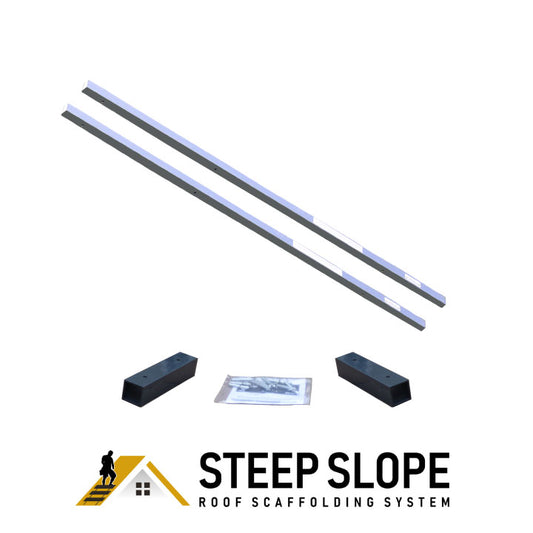
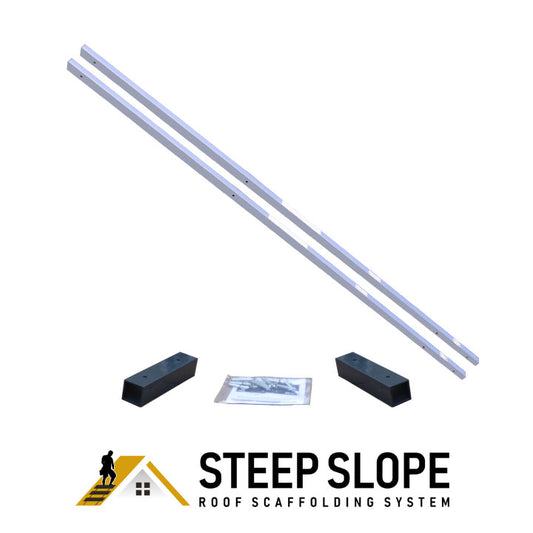
▪️ Each order includes (2) 21 ft. rails (comprised of (2x) 8 ft. sections & (1x) 5ft. section each).

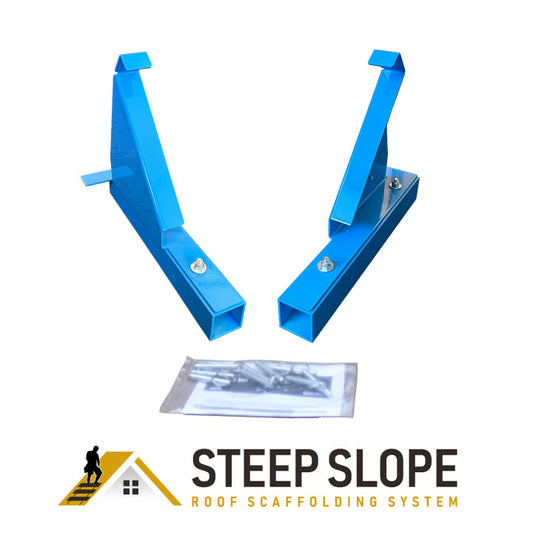
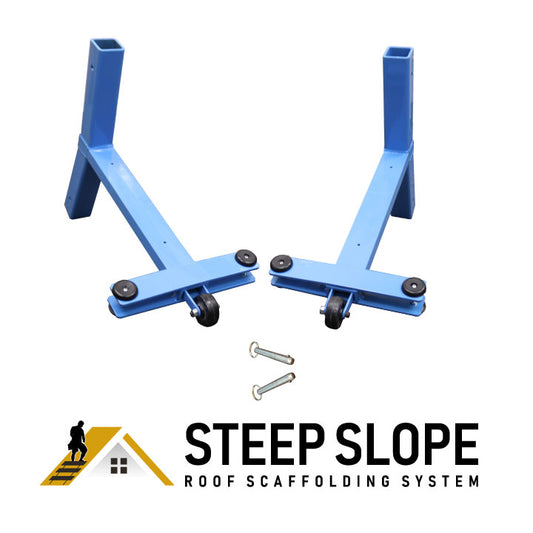
▪️ Each order also includes (2x) ridge mount brackets and (8x) plank/stair brackets.

▪️ Compliant with OSHA standards.

▪️ Made for slate, tile, asphalt, and metal (including stone coated) shingle roofs with a pitch between 8/12 and 14/12.

▪️ Rails are extendable to 42 ft with additional sections.

▪️ You'll never have to nail into shingles again!

*Note: This product does not come with planks. However, the system is built to support planks between 2x8 and 2x12.

Ver todos los detalles

Already Have a SteepSlope Scaffold Kit?

Shop SteepSlope Scaffold Parts & Add-Ons
  • Ships within one business day

    Once you place the order, our team gets to work so your team can, too!

  • Ships directly from the manufacturer

    All products come directly from a Safety Hoist Company facility.

  • Live customer support

    Reach out to our team by calling (610) 941-4333 or by clicking here.

Increase Your Job Speed & Revenue.

The SteepSlope Scaffold allows laborers to cut job times by up to 50%. This allows them to take more jobs and make more money.

Built for Roof Pitches Between 8/12 through 14/12

Works on Metal, Slate, Tile, & Asphalt Roof Materials

Developed, Tested, & Manufactured in Philadelphia, PA

Made to Keep Your Operation Compliant With OSHA Standards

The Steep Roof Swiss-Army Knife

What sets the SteepSlope Scaffold apart from anything else on the market is it's incredible versatility. You're not a one-trick pony, and your tools shouldn't be, either.

1 Rail: Steep Slope Assist

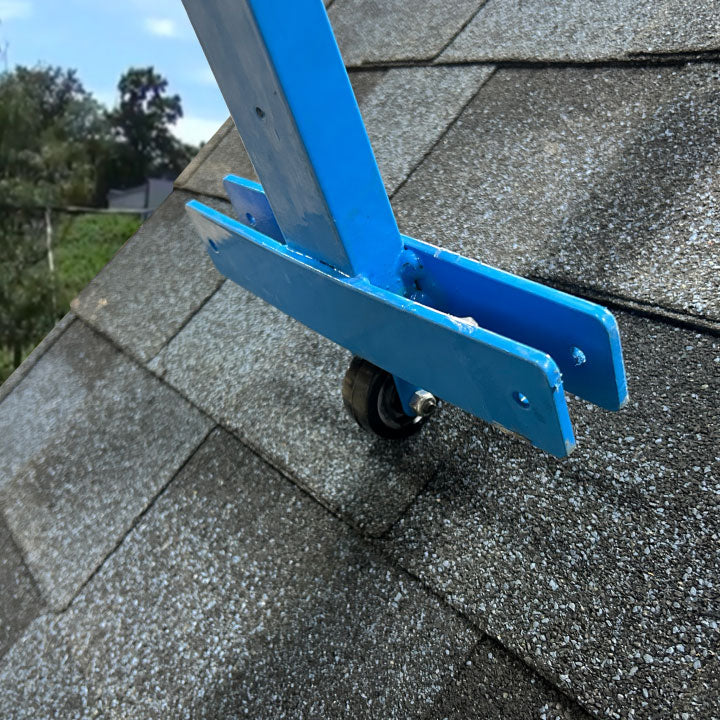
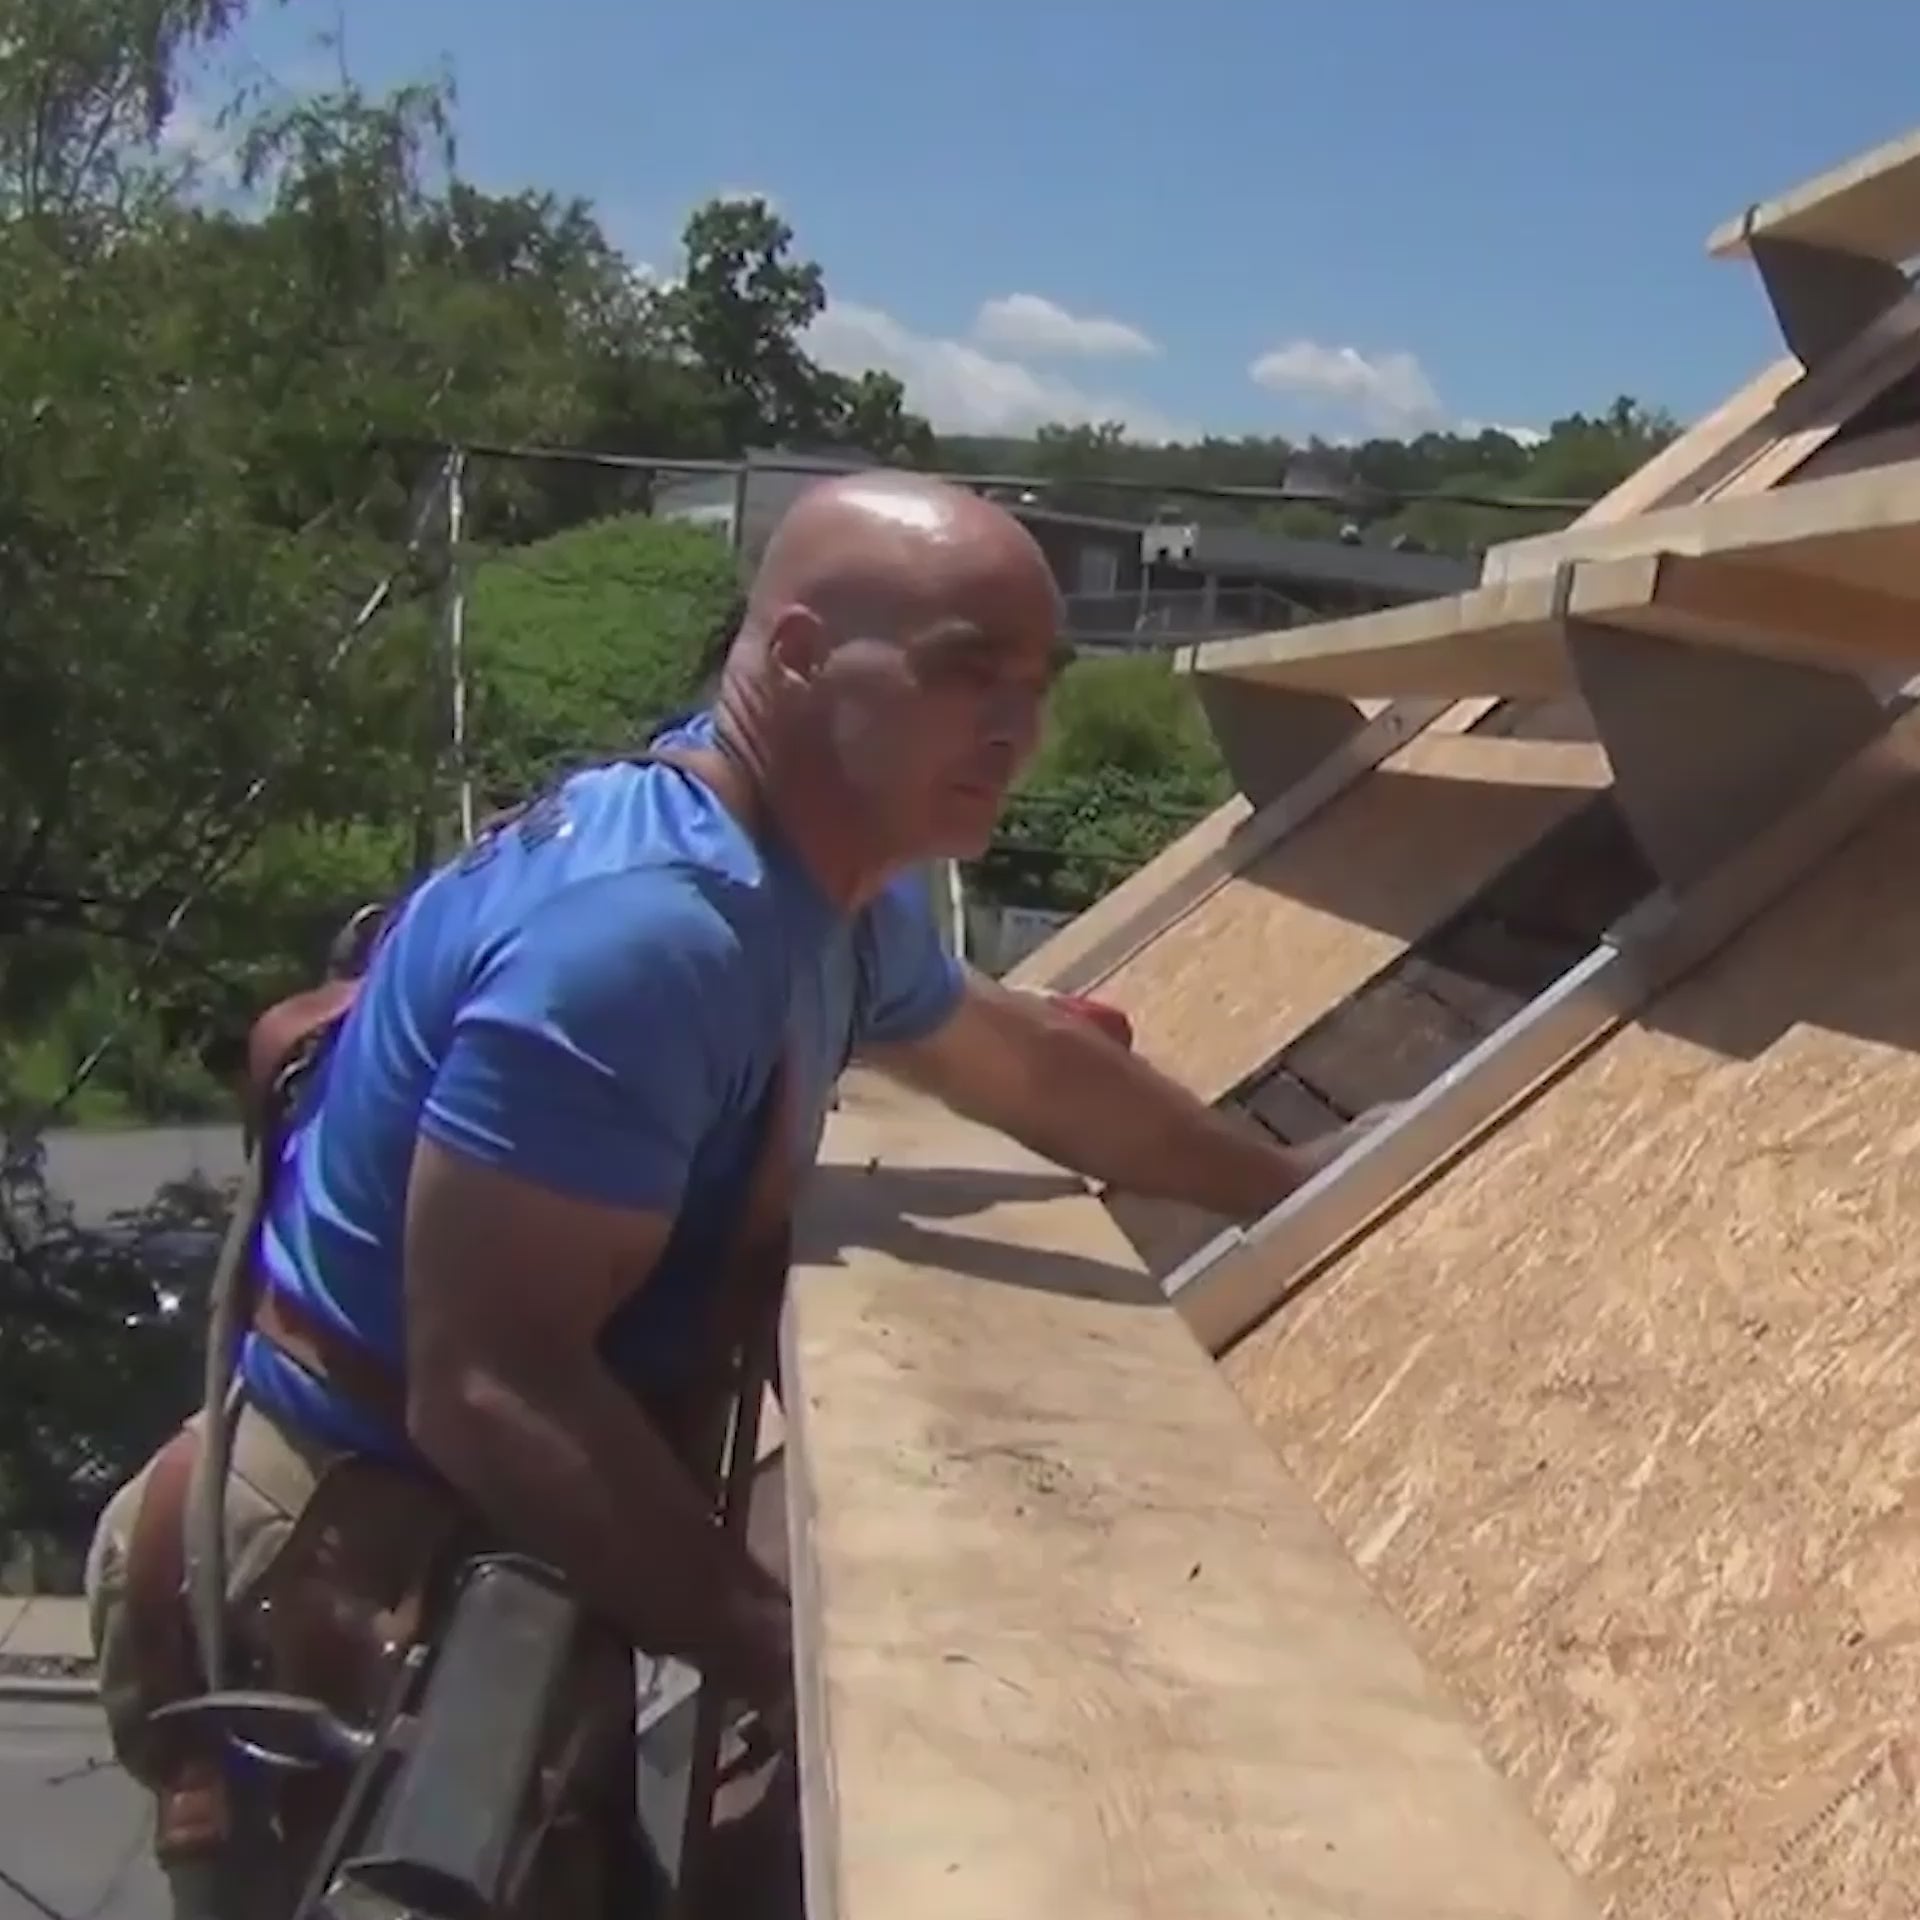
Use the wheels on the end of the scaffold's bracket to roll it up the roof and hang it over the ridge. Now you can easily climb up. It's the perfect tool for roof inspectors, or the first man up or last man down on a job.
2 Rails: Working Platform

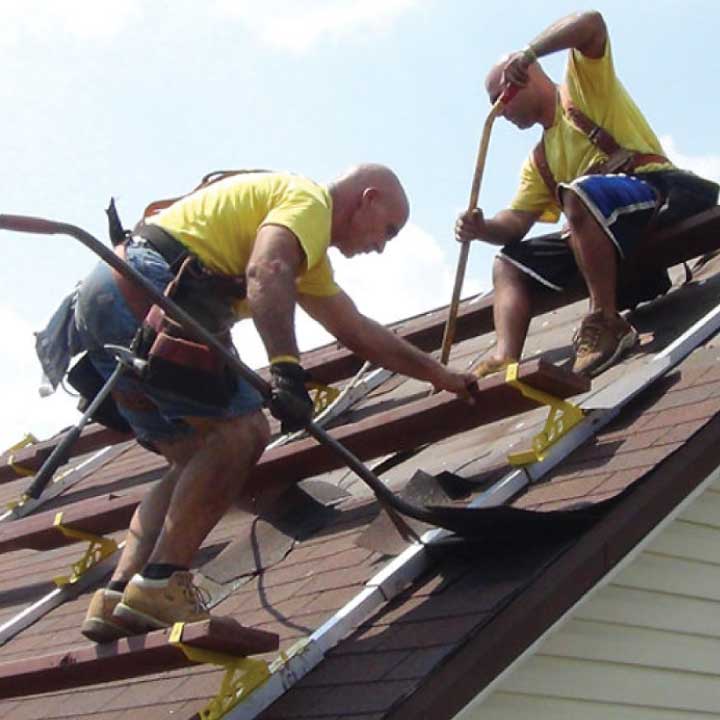
Simply add 2x10s to create a sturdy platform to work off of--and even store your tools & materials. It's perfect for quick repairs, re-roofing jobs, skylight/solar installs, and more.

Setting Up the SteepSlope Scaffold

Attach the Brackets

The SteepSlope Scaffold's brackets simply attach by use of quick-connect pins. Pull the pin, slide the bracket onto the rail, and re-insert the pin. Boom--your SteepSlope Scaffold is assembled.

Roll it up to the Ridge

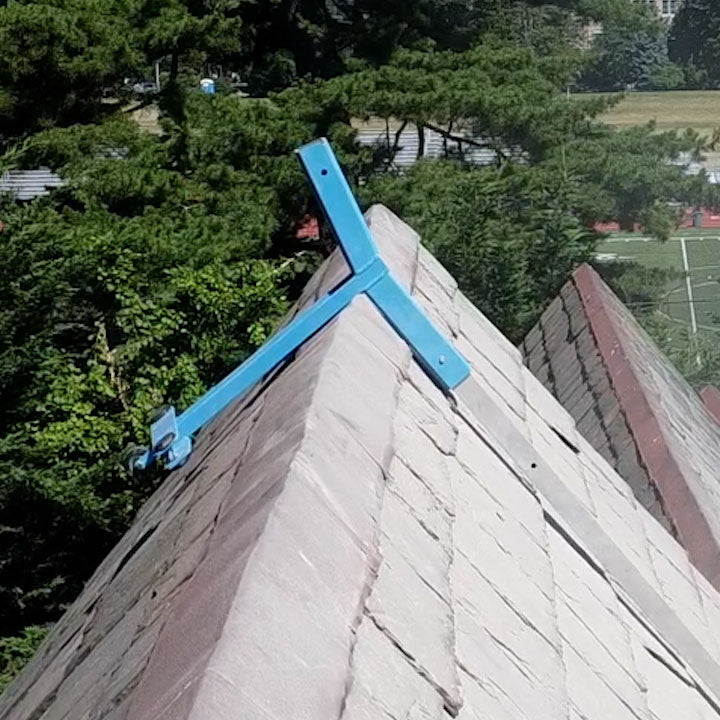
Use the wheels on the back of the ridge mount bracket to slide it up the roof and over the ridge. This will allow you to set it before even climbing up the roof.

Fasten it to the Ridge

Instead of harming your customer's property by nailing into 30-60 shingles, with the SteepSlope Scaffold, you just need one nail per rail. Fasten the ridge bracket so that their's about 1.5" between the rail/roofing structure.
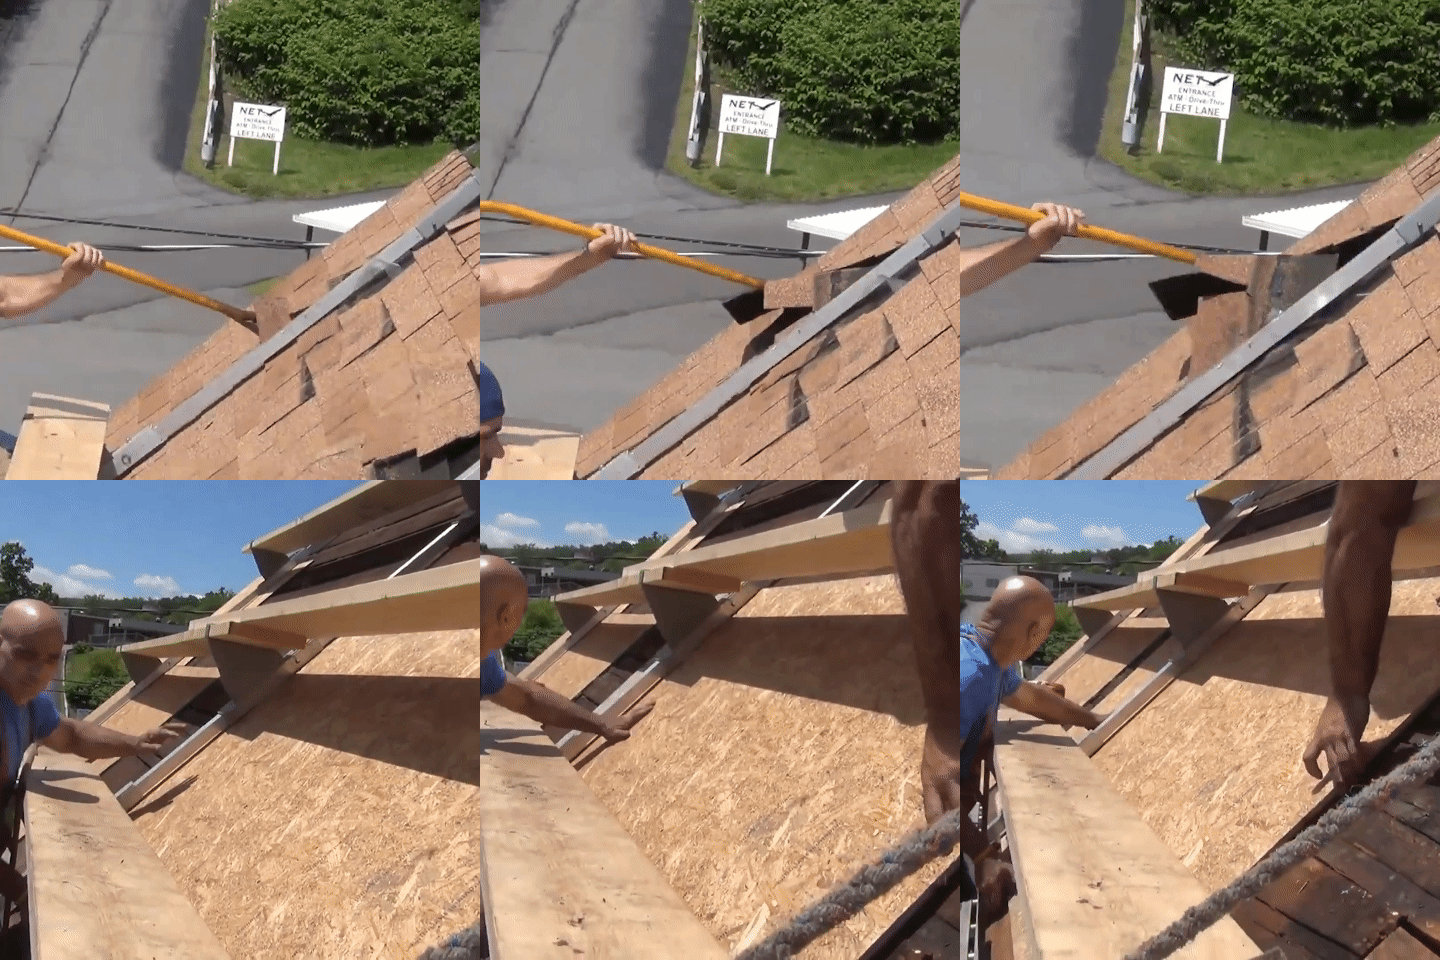
Simple.

Easily Shingle Under Rails

The beauty of the SteepSlope Scaffold is that it's a free-floating system. This allows you to slide materials (and remove them) under the rails with ease.

Safe.

Easy Movement

Walking on steep roofs is a pain in the @$$. But with the SteepSlope Scaffold, you now have a sturdy area to easily move around the roof.
Scaffolding for Any Roofing Material

Asphalt

Metal

Slate

SteepSlope Scaffold Customer Reviews

Frequently Asked Questions

How does rail stay off the roof deck once mounted?

The ridge mount bracket is manufactured to mount over the ridge.

Lift the ridge mount bracket up off the ridge about 1½ inches approximately. This elevates the rails and provides space under the rails allowing materials to slide underneath the rails and protects the ridge vent.

Since the rails are not fastened into the work area, the rails can be shimmed at any point if an obstacle is present.

How does rail assembly adapt to roof pitch?

The ridge mount bracket is set for the four most common pitches; 8, 10, 12, 14. Anything under 8 (8%) is walkable and anything over 14 (14%) is uncommon and would need a different type of scaffold.

Flip the ridge mount bracket and assemble it to rails according to the pitch you're working on. There are stickers that indicate which side of the ridge mount bracket to use.

Do rails crush ridge vents?

No, the rails do not crush ridge vents. When placed over vents, ridge weight is distributed on the back side of the roof with a displacement arm. If installed properly, the 1½ inch space helps keep pressure off the ridge even with contact.

Does it work on metal roofs?

Yes, it does work on metal roofs. All parts of the SteepSlope Scaffold that contact the roof’s surface are rubber coated to help resist against scratching the metal, eliminating metal-on-metal contact.

With that said, we do recommend adding on an additional barrier if available (rubber/cardboard/foam/etc.) that wouldn’t scratch the metal roof under the rails since metal roofs scratch very easily, even from just dirt.

How much weight can the rails hold?

SteepSlope Scaffold's rails are rated at 5,000 lbs per square inch tensile strength. Since plank's aren't included at purchase, their weight depends on the contractor's discretion. 

Does rail need to be fastened to roof?

It does not. However, we recommend using the nail flange provided in the ridge mount bracket only. Fasten using duplex nail so it can be removed easily or screw. Once removed inject roof caulk into hole and sprinkle shingle granular over caulk sealant.

What size plank should I use?

We recommend using planks that are, at minimum, 2"x10" with a 1' overhang onto adjoining scaffold when using three or more rail assemblies (this would be with additional systems set up side-by-side). be sure to fasten planks together when they overhang each other. 

How far apart can the rails be placed?

Our recommended space is 8' using a minimum of a 2"x10" plank board with a 1' overhang onto adjoining rails (if using three or more rails.)

Can aluminum planks be used?

Yes they can as long as they fit into the 12" plank bracket. We also offer an 18" plank bracket that fits on rail the same as the 12" bracket. 

Some chimney sweeps prefer wider planks to help increase work service, especially at ridge area. 

Do plank brackets have to removed after use?

They do not.Once the brackets have been assembled, there is no need to remove.

The rails will break down into 8' and 5' sections for easy transport into the back of your pick up, van and ladder racks. 

How much do the rails weight (approx.)?

The rails weigh 41 lbs fully extended and assembled (including ridge mount bracket and plank brackets at 21' length). 

Have any questions for our team?